Showing posts with label #die-cut #handmade. Show all posts

Friday, June 23, 2017

Album with flowers

Hello Craft friends
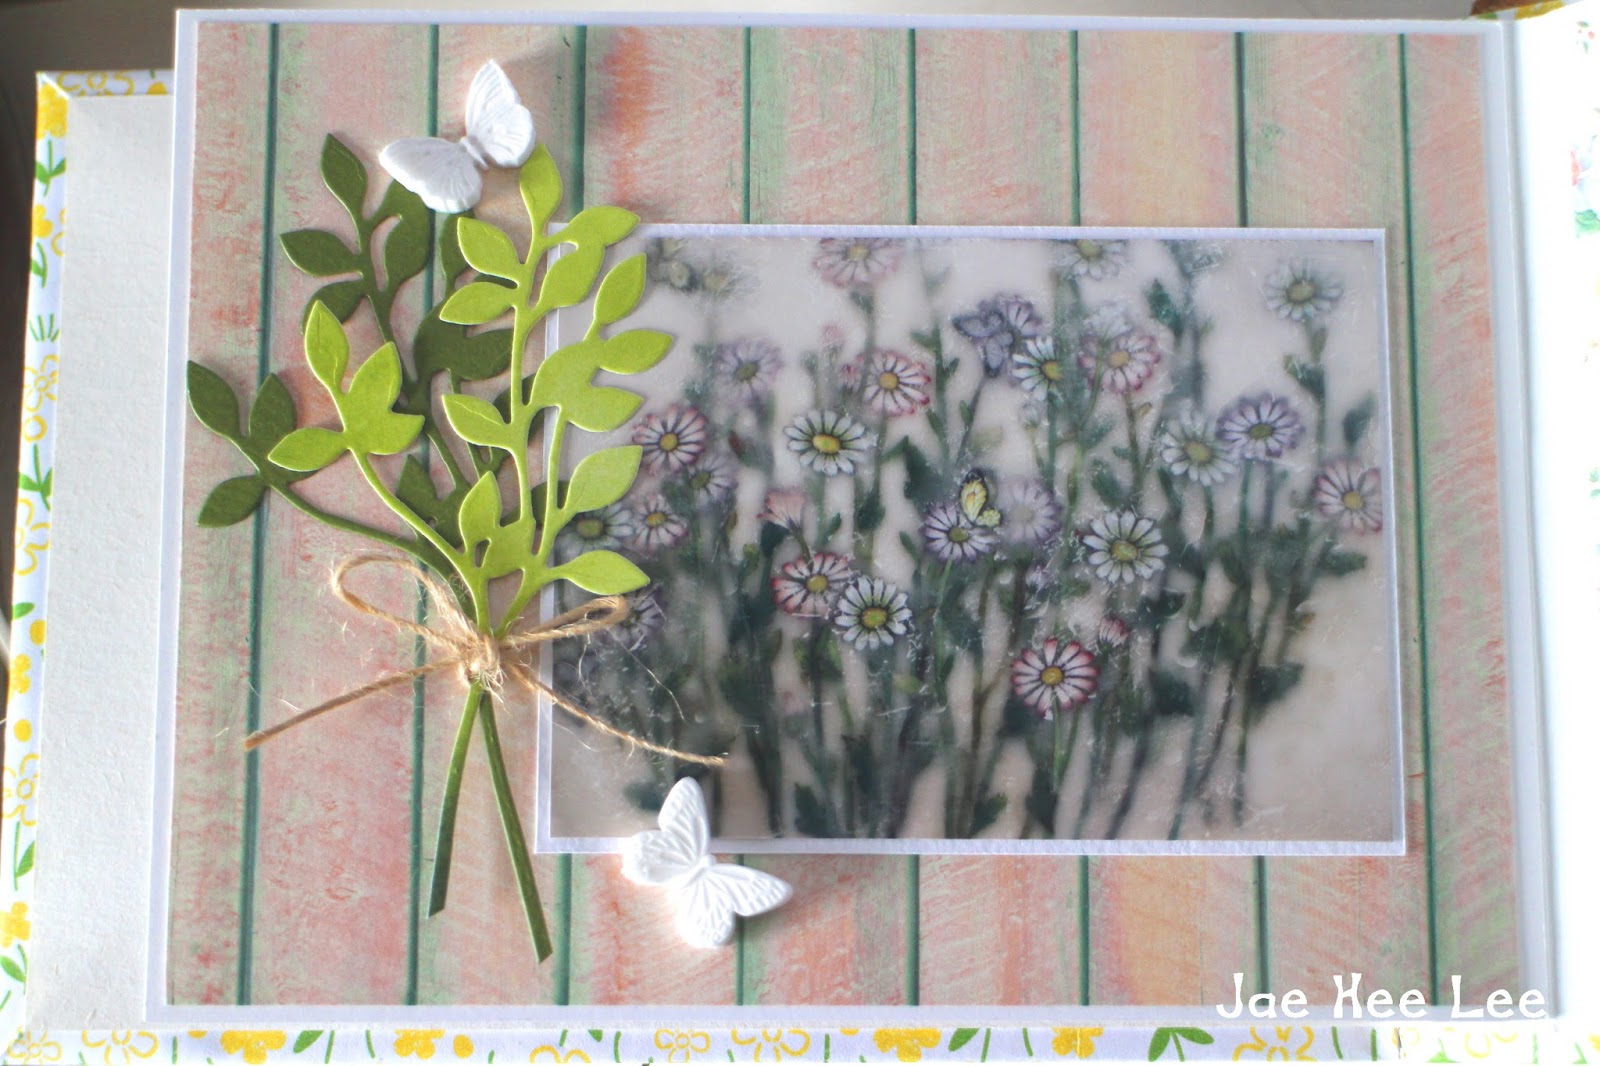
I made an album filled with flowers today.


A cover that makes use of the scrapbook feel.
I tried a new paper flower.
 

The inside of the album was decorated with pictures of polymer clay.


This album is a gift for my neighbors.
The picture of my neighbor 's work became the cover of the album.
It looks like flowers are blooming in photographs and albums.


Thursday, June 22, 2017

Baby mini Album

 
Happy day.
Hello my Craft friends~*
 
The beginning of green and refreshing summer.
Today I made an album of green.
Album for the beloved child.


Verdant background, pink flowers, blue butterfly~*


I stamped the name of the baby on the cover of the album.


Mini album to tell the story of the baby
The daily life of a baby with a small camera.

 
The album is full of freshness.
I hope the baby 's happy laughter will be full.


Sunday, May 14, 2017

One day in spring

Hello my Craft friends.
A good spring day~~~~*
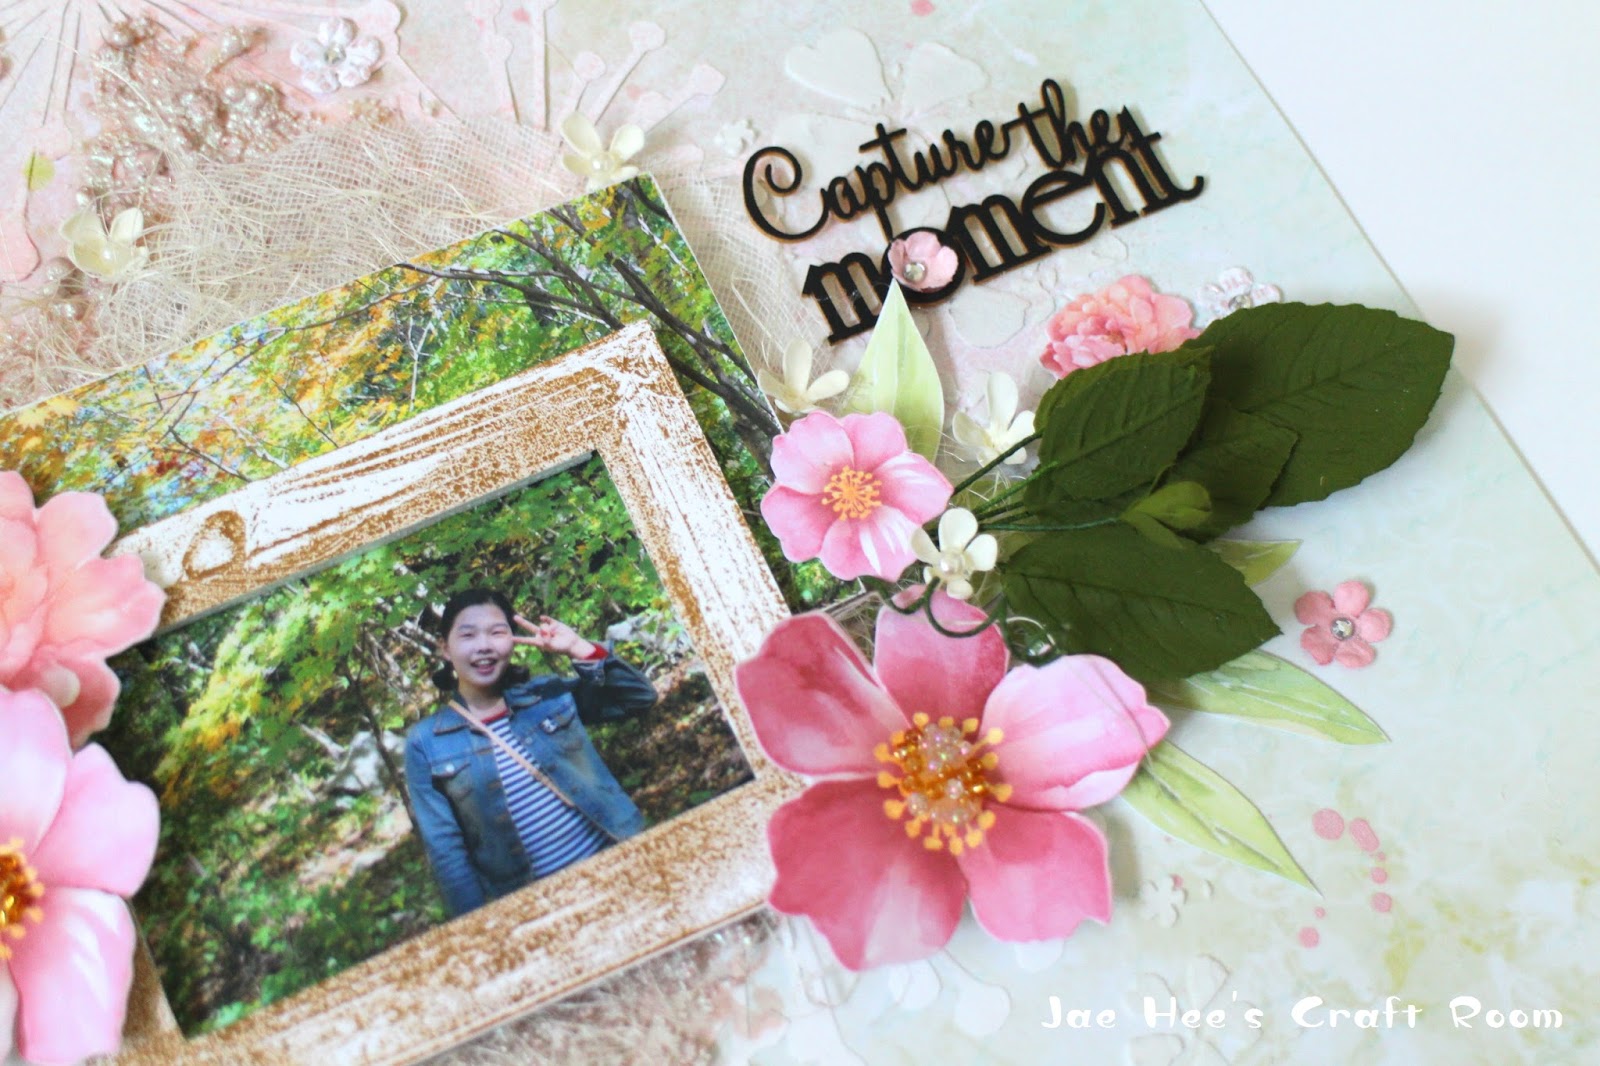
A day in the green forest charm..
worked with the colors of springtime.


Green, pink, white.
I used these colors to express the spring feeling.
 

White blossoms are paper cut flowers one by one.


The green leaves were clay flower.
Is the vein of the leaves well exposed?


The pink flower used the die cut of the Kaiser Craft.


 The pictures I took in the woods gave me points as a wooden frame.
 

A feeling of spreading the blossoms in springtime.
I worked on the mood board of Mixedmedia and Art.

http://mixedmediaandart.blogspot.kr/2017/04/april-challenge.html


I enjoyed working with spring feeling.
Thanks for watching my work.

Tuesday, April 11, 2017

Jae Hee's Tutorial - Springlight Album

Hello Craft friends
April of a warm spring day.
blue sky, Green sprout, Fresh Spring Mist~*

In the spring, I made an album with a feeling of spring.
For the sake of transparency, I used plastic bottles.

 
Various plastics available at home.

 
The plastic forks were cut to use the handle.
Be careful with your hands as you do the cutting with the heat wire cutter.

 
Cut the transparent part of the plastic with scissors.
Stamp leaves using oil ink and let dry.

 
Take a stencil on the cover of the book album.
After applying the crack solution, apply Jetsuso.

 
The inside of the book album folds the transparent case zigzag.
Assemble the four shapes and attach the cut fork handle.


After applying the crack solution, color it with ink.


Cut the stamped shape and decorate it with a spring feel with die cut.


Cover albums are colored with ink and then decorated with stamping.
 
 
If you give glue to the album frame inside the book album cover,
the spring feeling book album completion!
 
The transparency of plastic shows up inside book album.
Do your own work with recycled materials.
Feel the feeling of a fresh spring day together.
Next time I meet again with my work.


Wednesday, February 1, 2017

[Offtherailsscrapbooking DT] A song of love

Hello my creft friends.
Today we introduce Offtherailsscrapbooking DT work.

February is the month of love.
This month mood board is filled with love.


Various images in the mood board.
I decided to put the bridal wedding shoes and the heart image in my work.

 
The colors shown in the heart image.
I put on the cardstock the color that expresses the feeling of the heart.
Red, pink, kite pink.......


The point color was decided to use the moody color in the mood board.
 I made flowers using the point color.


I wore two colored ribbons along the bridal wedding shoes feeling.
 
 
It is also pointed that stripes of ribbon are arranged in stripes.

 
The music box with the melody of love spread
The title was set to "Remember This Moment" to keep the memories of the day.
 
How did you feel in the mood board?
Do you want to fall in love with me?
Love-filled work.
Everyone will fall in love ~~~~

Monday, December 12, 2016

Offtherailsscrapbooking DT - Santa town

Hello my Craft friends.
What does Christmas Santa town look like?
I made a Santa town on the boots, Santa 's gift box on Christmas day.

What gift is in Santa's town in the boots?
Let's decorate the town of Santa in our boots.

 
I cut the red paper into the boots shape I want. 
 
 
Attach patterns along the cut pattern.
The boots shape are finished.

 
Cut the poinsettia, pine needles, and icicle shapes into die cuts.

 
I make a shaker card with a window feel.
 
 
I gave the shaker card a small town feel.
I put a little snowflake on the snowy landscape.

 
It is decorated with die cuts prepared on the boots.
The outer surface of the boots gives a wooden frame feel.

 
Decorate with glitter on poinsettia flowers.
 
 
Completely shiny poinsettia with light.
Is the sparkle pretty?
 
 
Decorate with a shaker card and a cut die cut on a wood frame.
 
 
Put pictures on the boots with tag feel.
 
 
Cut snowflake, tag shape die cut and message.
Feeling like a muffin pick......
Do you have a present for Santa?
Can I write that gift? Santa can see...^^
 
 
My Santa town is finished.
Santa town where red and white became points.
The Christmas accessories are finished with a sense of winter.
 
I hope that Santa's gift is filled with ....
We wait for Christmas to come.